by Robert Leavitt
This is an example of collard green transplanting. It really applies to any plant, but I have this way that I do my collards and I wanted to share it with the world so they can see what my technique is.
My neighbors daughter planted a metric ton of collard seed all in one place on one of my rows. And because they are all coming up in one spot and I have half of a row to move them to, instead of thinning them out and throwing some away I decided that I would transplant some down the row. Why not take some pictures and make it into a blog post!
If you've ever seen a collard seed, they are VERY small. I mean tiny tiny. and sowing them 1 ft apart to grow plants is not really realistic. Most people till the land up really well, make a mound or a row, and toss them down the row which is my preferred planting method. You then can lightly walk down the row and just make the seed make contact with the soil, and they will grow! I usually go ahead a very light layer of earth above them instead of the "walking" method, but believe me, the "walking" method most definitely works.
After the plants reach a few inches tall you start thinning them out to finally reach a spacing of one foot each. That will give them room to grow, these are VATES Collards and they can grow to be about four feet tall!
.JPG) |
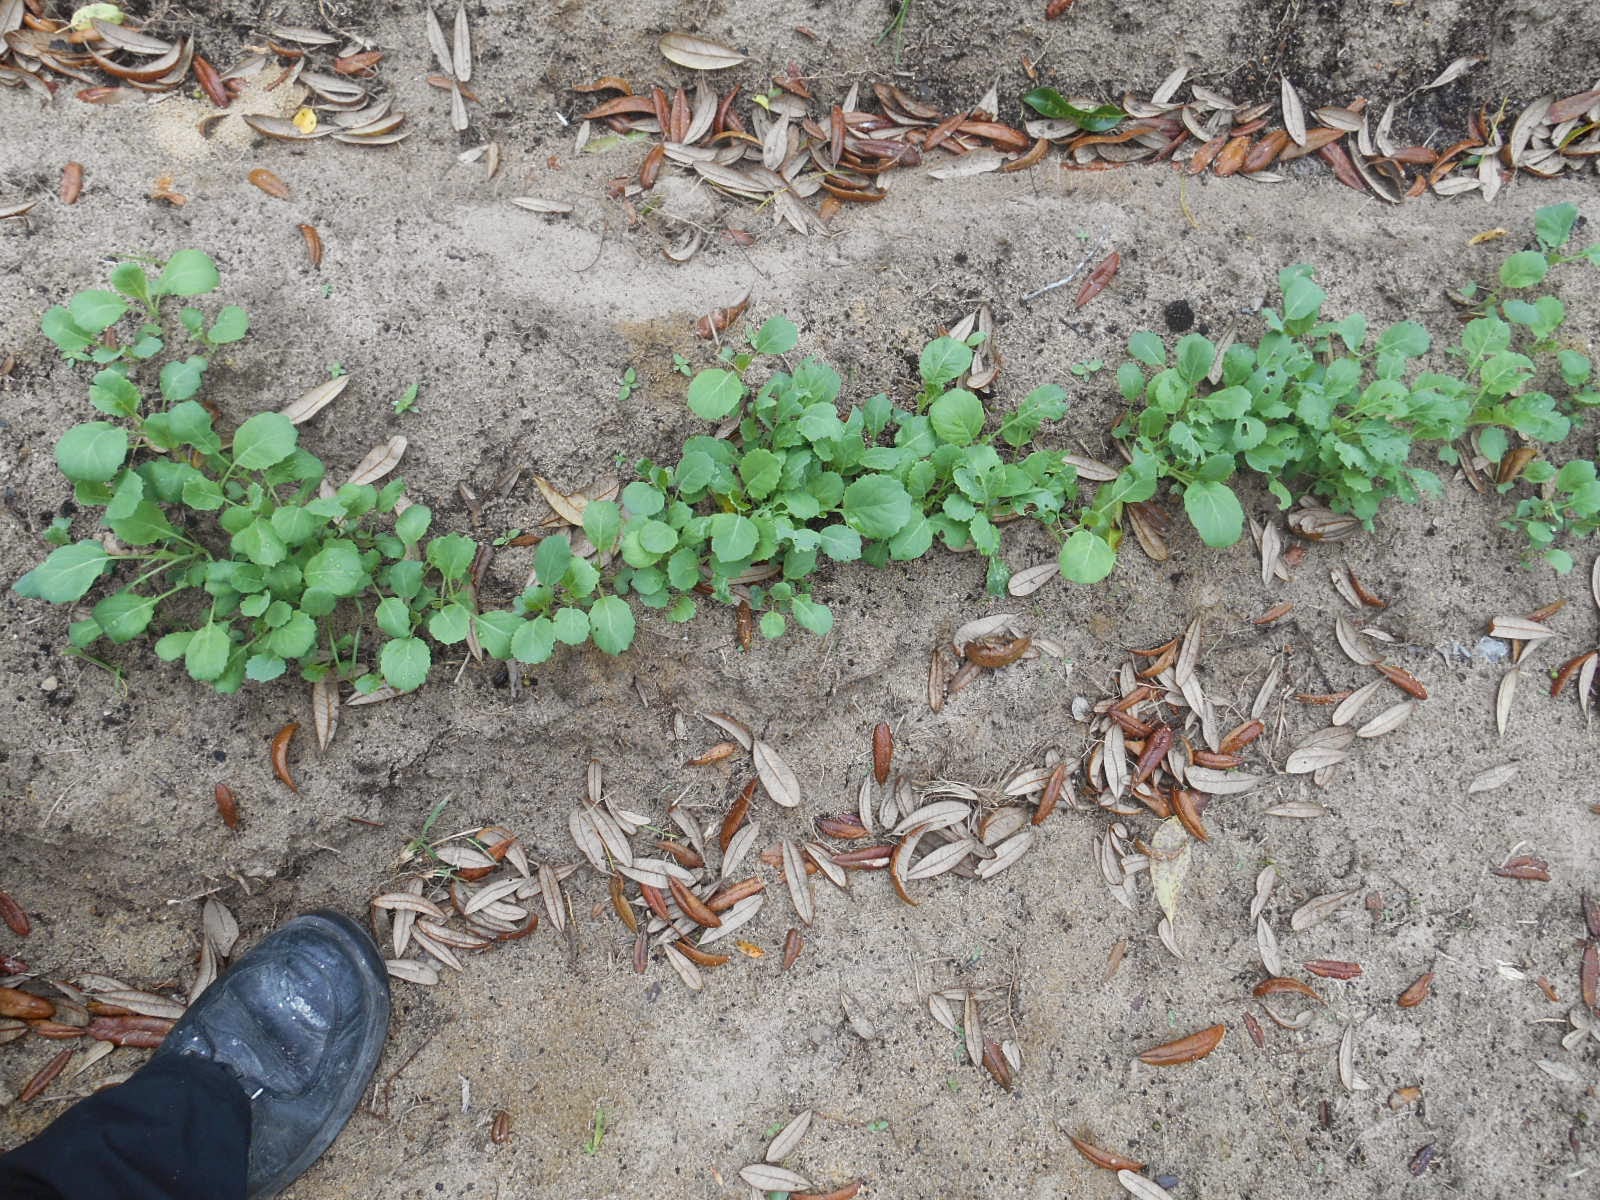
| Collard Clumps |
|
.JPG) |
| Clumps of Collards needing to be transplanted |
|
So you can see that once they get going it can get very cluttered quickly and you will need to thin them out. I started by going a little farther down my "row" and tilling up the land.
 |
| Starting to Hand Till the row with a shovel |
|
|
After tilling for quite some time and really breaking up the ground and removing rocks I am ready to add a layer of compost.
.JPG) |
| Clumps of compost waiting to be mixed into the earth |
This has some peat in it, and compost. Remember you never want to grow
directly in compost. Just mix it in as best you can, you want it
blended well. Most people add a lot more than this at this point, but I
always go with the "less is better" motto. You can't grow in straight
compost, and the earth doesn't need to be BLACK to grow great food!
.JPG) |
| Compost mixed in, and begging to "shape" the row making it into a little hill. | | |
|
I have mixed in my organic matter now and I'm started to shape down the hill, I am just making it into a little mound down the row so that the water can flow easily. You can see in the picture the clumps of soil to the right, those still need to be worked in.
 |
| Shaping the Row | | | | | | | | | | | | | | | | | | | | | | | | | | | | | | | | |
|
|
This is is the row after it's all tilled and shaped. This is just an example, but this will allow you to have good drainage and give your plants a nice space to grow!
 |
| Holes for the plants to go into |
|
|
This is the most important thing and I Can't stress this enough. Whether you're transplanting to a pot, or into the ground, and no matter what kind of plant it is, you ALWAYS want to prepare your holes FIRST so that you can have the least amount of time that the plant is out of the ground with the roots exposed. You never want to uproot the plant, and leave it cooking in the sun while you are preparing your holes to put them into. The good thing about these is that they are small and you can just run your holes right down the row with your finger!
 |
| Removing a plant |
I'm going to uproot a plant now and take it down to a hole, notice that I am not grabbing the plant, I am grabbing the soil around the plant. I want to have as much of the roots intact as I can when I lift this plant out of the ground. Simply yanking it out will cause damage to it's root structure and possibly kill the plant.
 |
| Collard green out of the ground |
This is the pant out of the ground.. Make note of the clump of soil still around the roots. I want to try to take as much of that soil around the roots to the new hole as possible. Ideally I could have dug them all up with a spoon and kept ALL The soil surrounding the root, but it's not 100% necessary and since we have so many to do, we are going to run with this. However, if you are dealing with delicate transplants and you really want to do things correctly, removing the soil around the plant and getting the whole root structure intact is your best bet.
 |
| Placing the collard green in the new hole |
Now my little seedling has found his new home. I am going to place him down there gently into the new hole that I prepared ahead of time for him to grow in.
.JPG) |
| Transplanted Collard Green |
Lastly you add a touch of soil to the hole and press it down firmly.
Don't compact it so much you crush the roots but give it a little gently
push.
That's all there is to it! Now you want to water with a mister and thoroughly saturate the soil. Do this every day for new 3-5 days and you will have transplanted your collards to increase your yield.
Note: I will thin these to plant per foot as time goes on, this is not the "preferred" method of cultivating collard greens, I'm just showing you some options as to how you could do it, and things that are possible!
Remember, as always to "Keep on Digging!"
You can learn more about Robert Leavitt on his
Google Plus page.
No comments:
Post a Comment